How it works
The WriggleBum nappy change harness is quick and easy to set up, but there are a few important things you need to know.
In this video, I step you through how to set up the WriggleBum and get the most out of it.
Step-by-step instructions
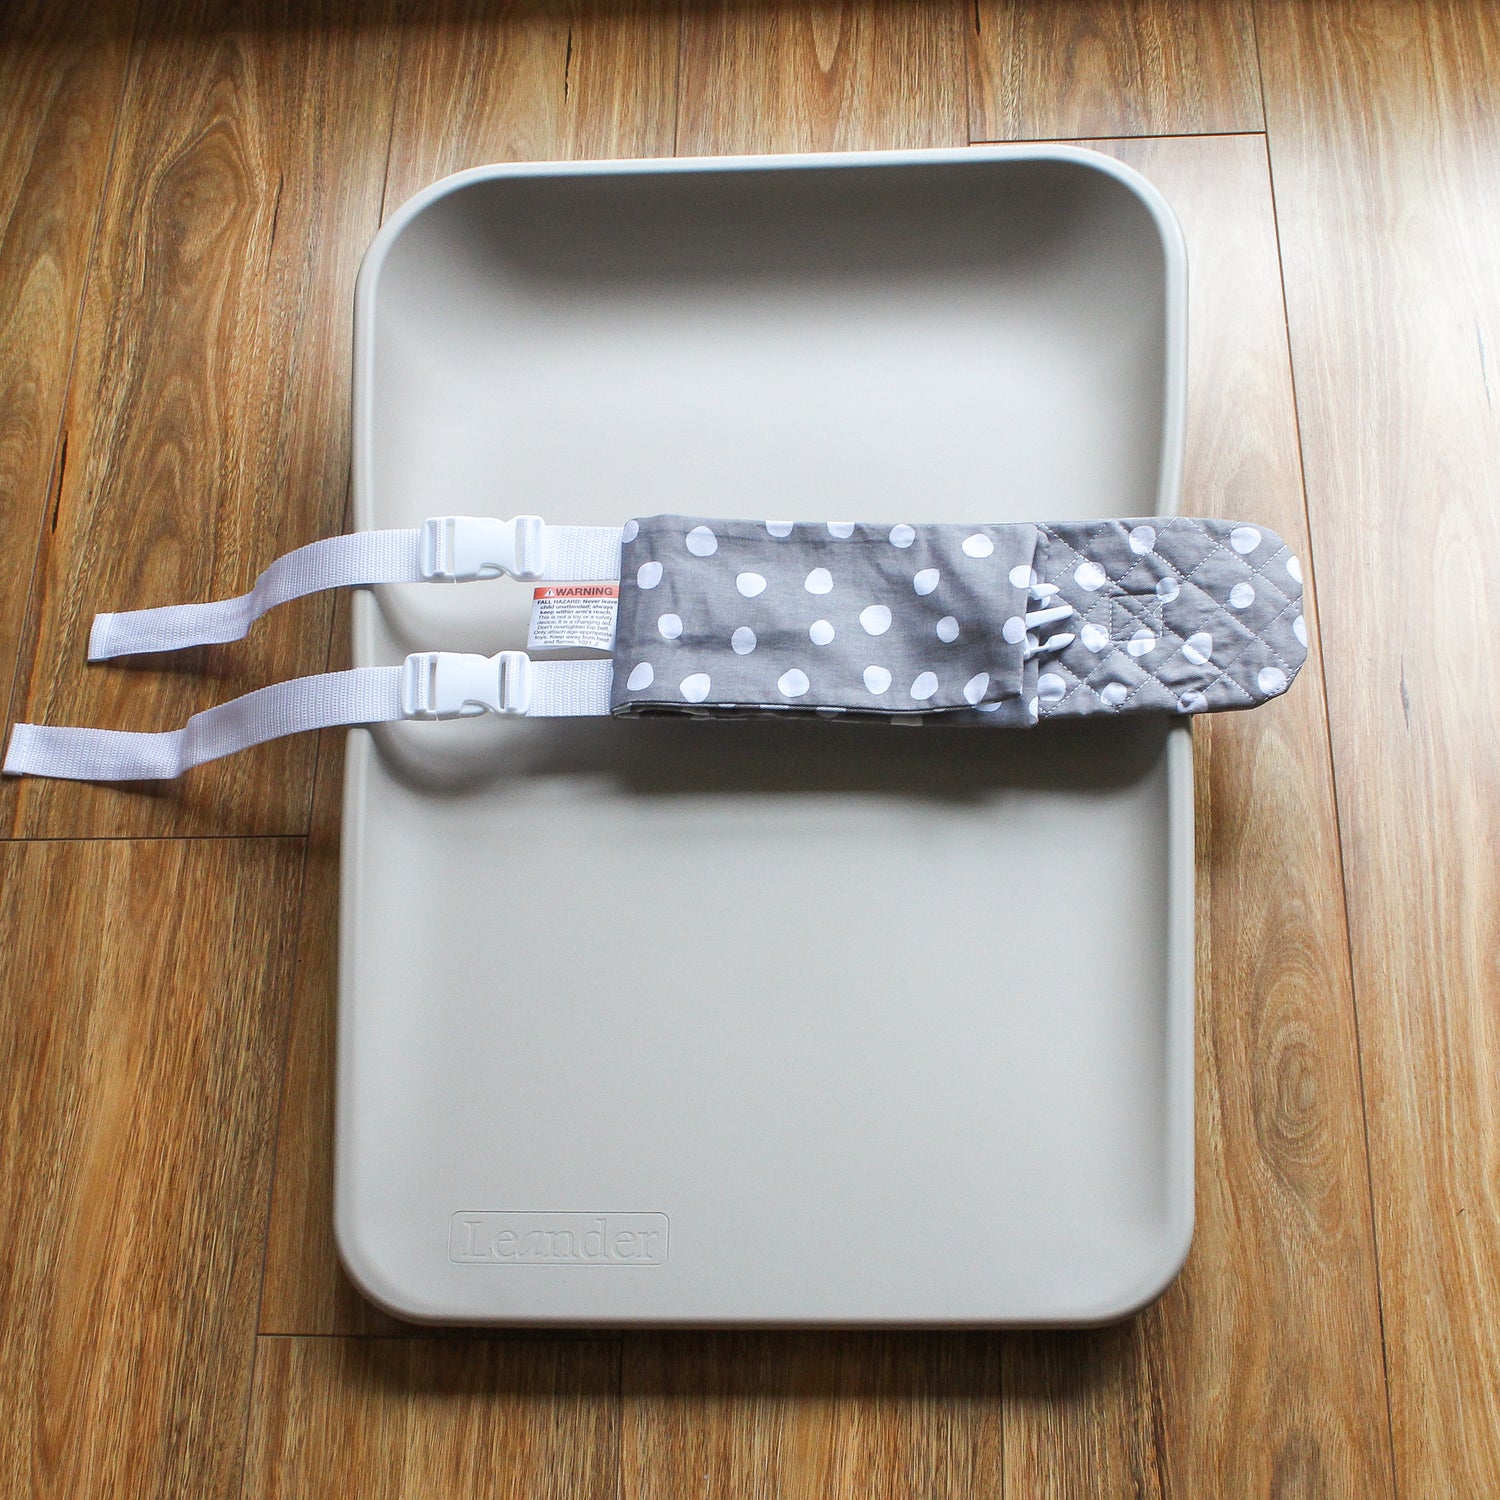
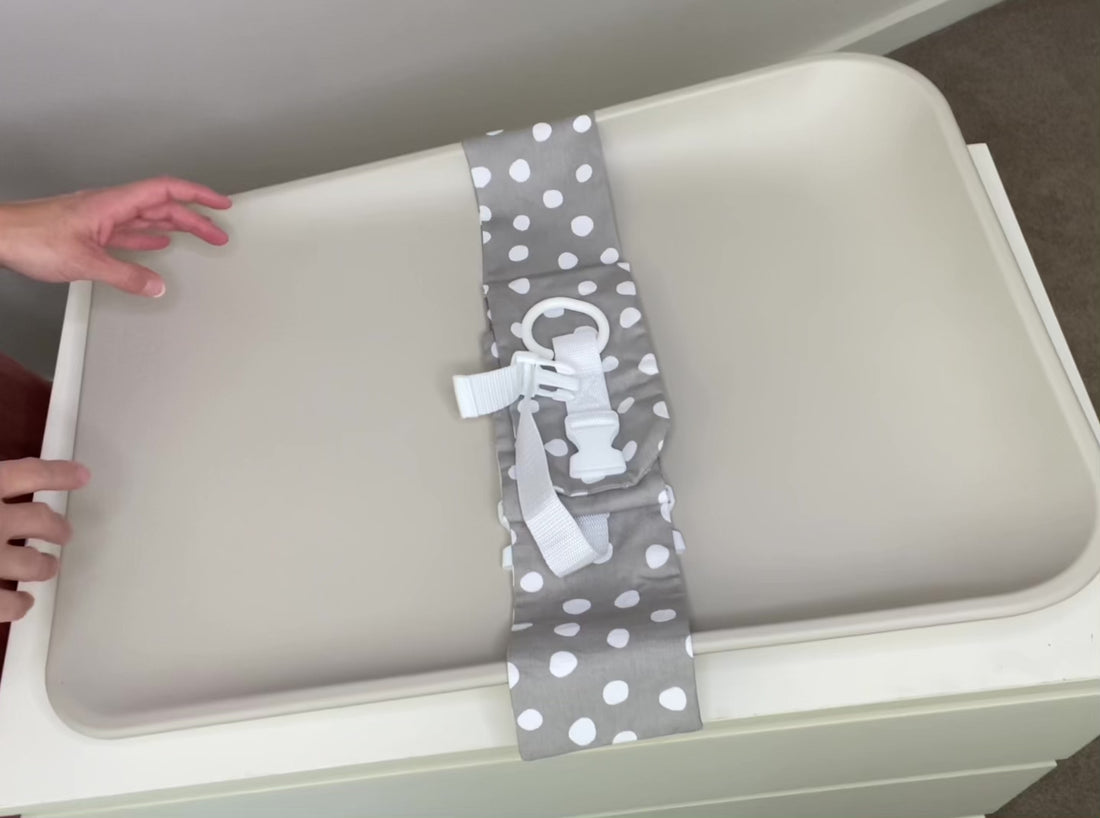
1. Wrap the Wrigglebum's long bottom belt around your change mat or change table, with the top belt facing up.
2. Clip both buckles and fasten both straps so that the harness is fitted as firmly as possible. A gap should be created between the mat and the harness.
3. Place the flap of fabric over the buckles. If you're using a change mat without a table, you can tuck the straps underneath.
4. Open up the top belt and lie baby on top of the harness.
TIP #1: Make sure the WriggleBum is fitted as firmly as possible around your mat. This is especially important when using a soft change mat (a solid change mat or change table will provide more support).

5. Wrap the top belt around baby's chest, clip the buckle and adjust the strap so that the belt is fitted snugly around baby.
6. Pop a toy onto the toy ring to keep baby busy during the change.
TIP #2: Make sure the top belt is fastened snugly around baby.
TIP #3: Make sure the top belt is sitting high on baby's chest. It needs to be right under their armpits and not around their belly.
TIP #4: For the wriggliest of babies, place one hand on their chest for extra support during the change (especially when the WriggleBum is first introduced).